AWS | S3 를 이용한 파일 업로드 기능 with Kotlin, swagger
by jeongminy
aws 버킷생성
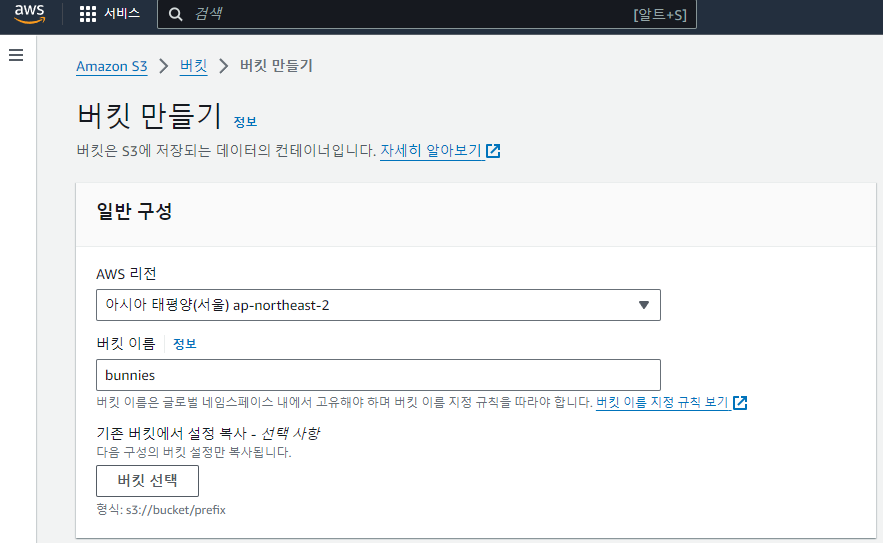
1. 버킷 만들기 선택

2. AWS지역과 버킷 이름을 입력
3. 객체 소유권을 ACL 비활성화됨으로 되어있는데 ACL 활성화됨으로 변경 (유의사항 꼭 확인 - 불이익시 내 책임 아님!!)

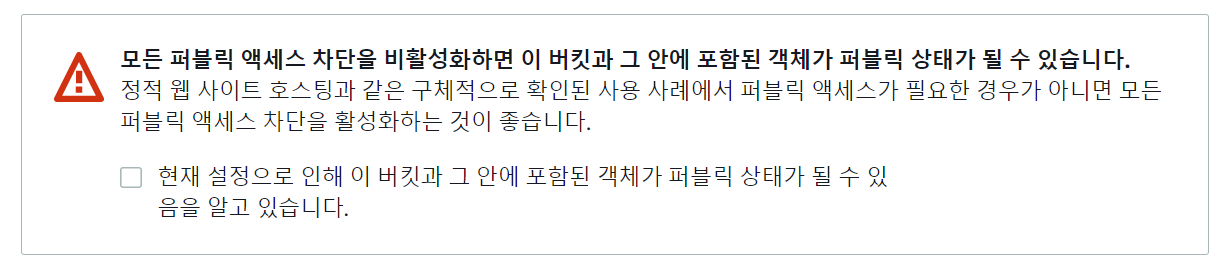
4. 아래 항목에 대해 체크를 해제하여 외부의 모든 사용자들이 접근 가능한 Public 객체 생성이 가능합니다.
- Public Access 설정을 원하는 버킷 선택
- [권한] -> [퍼블릭 액세스 차단(버킷 설정)] 에서 [편집]
- 아래 항목에 대한 체크 해제 후 저장 (유의사항 꼭 확인 - 키 노출시 돈 털릴 수 있음 - 불이익시 내 책임 아님!! )

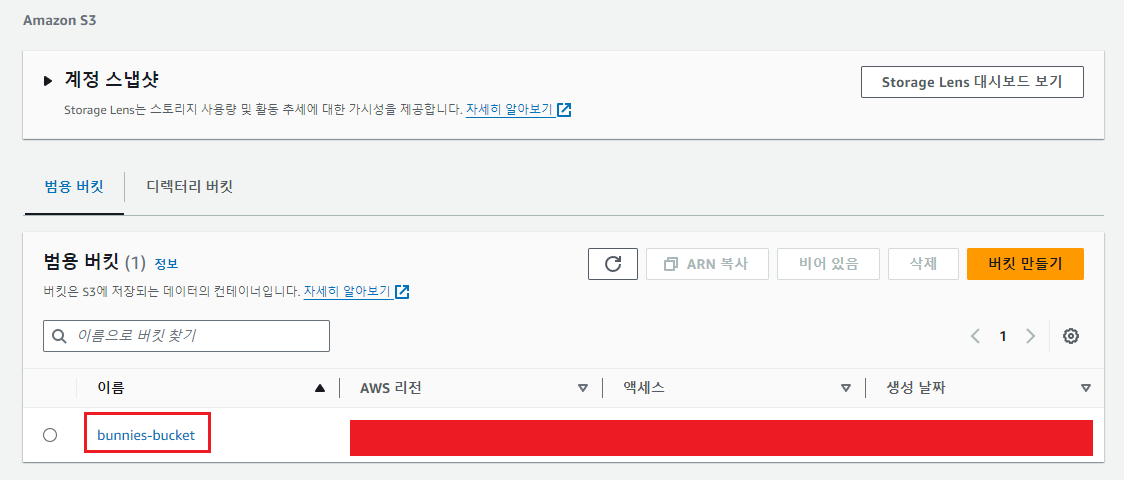
5. 버킷 이름 클릭
6. 폴더만들기
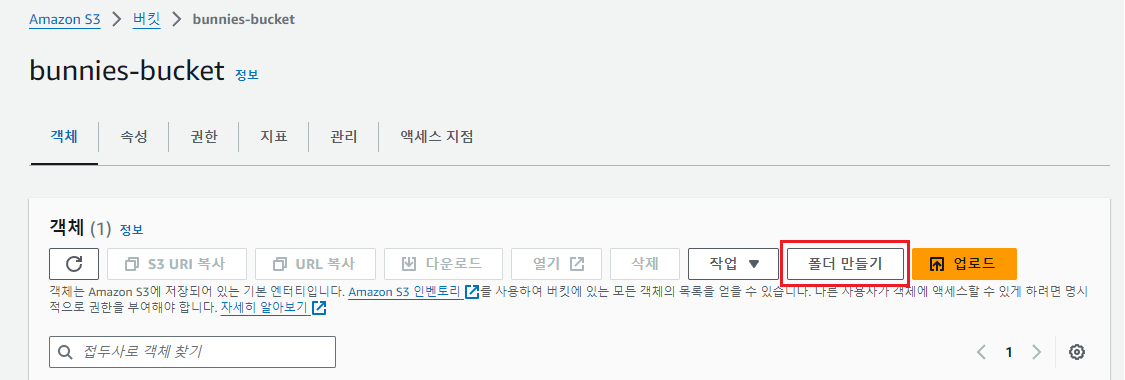
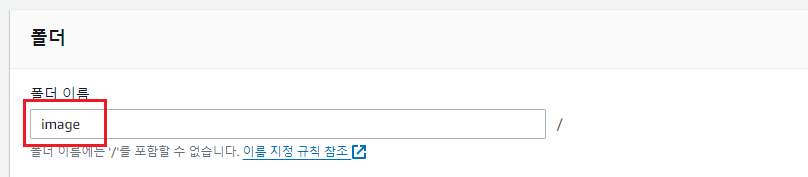
7. 폴더이름 짓기
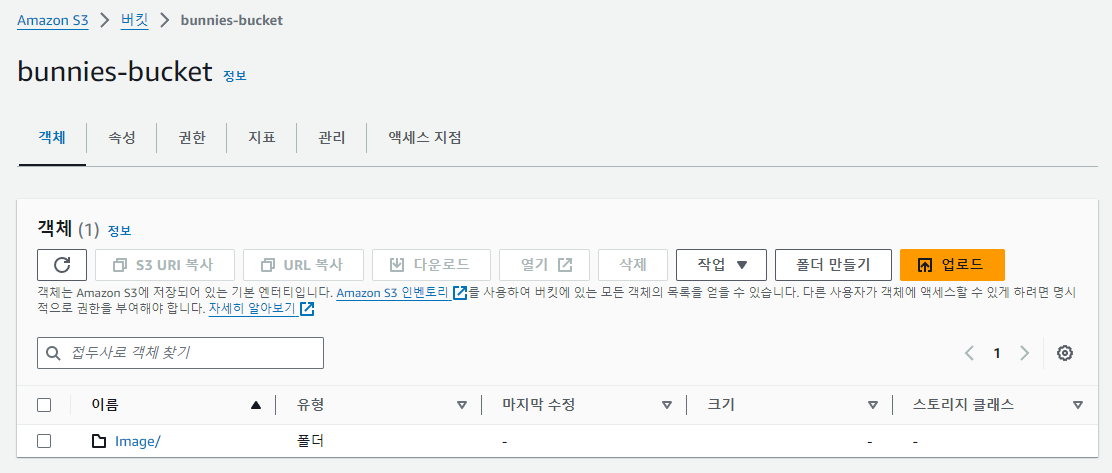
8. 폴더 확인
AWS 세팅
1. build.gradle에 의존성 추가
implementation("org.springframework.cloud:spring-cloud-starter-aws:2.0.1.RELEASE")
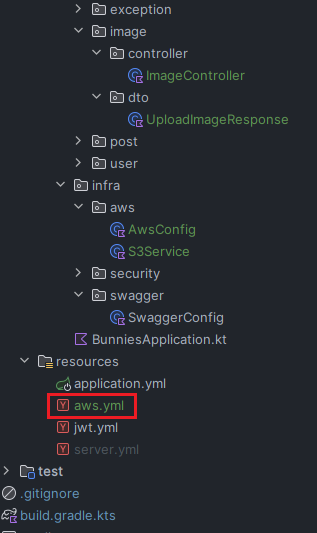
2. aws.yml 추가 (이 파일은 반드시!! github에 노출되지 않도록 조심!! 카드에서 돈 털림 주의)

accessKey: AWS IAM의 access-key
secretKey: AWS IAM의 secret-key
bucket: 버킷 이름
dir: 폴더이름/
region: ap-northeast-2
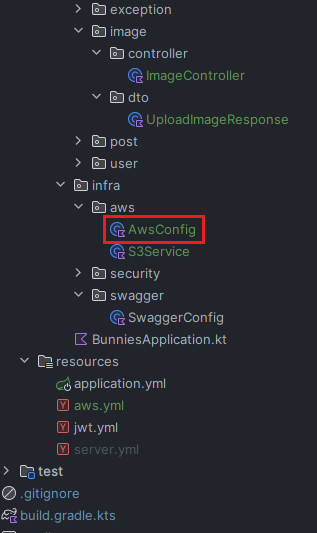
3. AwsConfig 추가
package com.teamsparta.bunnies.infra.aws

import com.amazonaws.auth.AWSCredentials
import com.amazonaws.auth.AWSStaticCredentialsProvider
import com.amazonaws.auth.BasicAWSCredentials
import com.amazonaws.services.s3.AmazonS3Client
import com.amazonaws.services.s3.AmazonS3ClientBuilder
import org.springframework.beans.factory.annotation.Value
import org.springframework.context.annotation.Bean
import org.springframework.context.annotation.Configuration
import org.springframework.context.annotation.PropertySource

@PropertySource("classpath:aws.yml")
@Configuration
class AwsConfig {
    @Value("\${accessKey}")
    private val accessKey: String? = null

    @Value("\${secretKey}")
    private val secretKey: String? = null

    @Value("\${region}")
    private val region: String? = null

    @Bean
    fun amazonS3Client(): AmazonS3Client {
        val awsCredentials: AWSCredentials = BasicAWSCredentials(accessKey, secretKey)
        return AmazonS3ClientBuilder.standard()
            .withRegion(region)
            .withCredentials(AWSStaticCredentialsProvider(awsCredentials))
            .build() as AmazonS3Client
    }
}
4. S3Service 생성

package com.teamsparta.bunnies.infra.aws

import com.amazonaws.services.s3.AmazonS3Client
import com.amazonaws.services.s3.model.CannedAccessControlList
import com.amazonaws.services.s3.model.ObjectMetadata
import com.amazonaws.services.s3.model.PutObjectRequest
import com.amazonaws.util.IOUtils
import org.springframework.beans.factory.annotation.Value
import org.springframework.context.annotation.PropertySource
import org.springframework.stereotype.Service
import org.springframework.web.multipart.MultipartFile
import java.io.ByteArrayInputStream
import java.io.IOException
import java.util.*

@PropertySource("classpath:aws.yml")
@Service
class S3Service(
    private val s3Client: AmazonS3Client
) {

    @Value("\${bucket}")
    lateinit var bucket: String

    @Value("\${dir}")
    lateinit var dir: String

    @Throws(IOException::class)
    fun upload(file: MultipartFile): String {
        val fileName = UUID.randomUUID().toString() + "-" + file.originalFilename
        val objMeta = ObjectMetadata()

        val bytes = IOUtils.toByteArray(file.inputStream)
        objMeta.contentLength = bytes.size.toLong()

        val byteArrayIs = ByteArrayInputStream(bytes)

        s3Client.putObject(
            PutObjectRequest(bucket, dir + fileName, byteArrayIs, objMeta)
            .withCannedAcl(CannedAccessControlList.PublicRead))

        return s3Client.getUrl(bucket, dir + fileName).toString()
    }

}
5. ImageController 생성

package com.teamsparta.bunnies.domain.image.controller

import com.teamsparta.bunnies.domain.image.dto.UploadImageResponse
import com.teamsparta.bunnies.infra.aws.S3Service
import io.swagger.v3.oas.annotations.tags.Tag
import org.springframework.http.MediaType
import org.springframework.http.ResponseEntity
import org.springframework.web.bind.annotation.PostMapping
import org.springframework.web.bind.annotation.RequestMapping
import org.springframework.web.bind.annotation.RequestParam
import org.springframework.web.bind.annotation.RestController
import org.springframework.web.multipart.MultipartFile

@Tag(name = "image", description = "이미지 관리 API")
@RequestMapping("/api/images")
@RestController
class ImageController(
    private val s3Service: S3Service
) {
    @PostMapping(consumes = [MediaType.MULTIPART_FORM_DATA_VALUE], produces = [MediaType.APPLICATION_JSON_VALUE])
    fun uploadImage(@RequestParam("image") multipartFile: MultipartFile): ResponseEntity<UploadImageResponse> {
        return ResponseEntity
            .ok(UploadImageResponse(url=s3Service.upload(multipartFile)))

    }
}
6. UploadImageResponse 생성
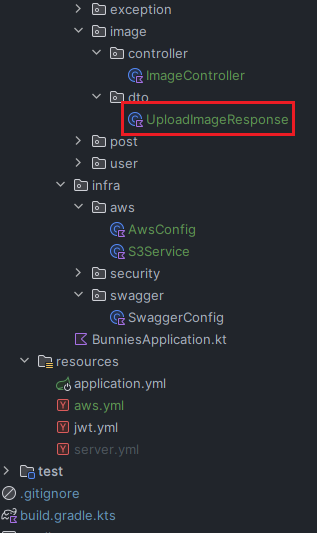
package com.teamsparta.bunnies.domain.image.dto

data class UploadImageResponse(
    val url: String
)
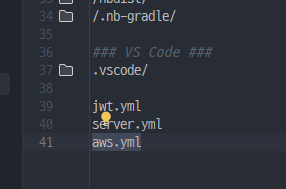
7. 키 노출 방지를 위해서 aws.yml 파일이 github에 올라가는걸 막기 위해 gitignore 파일에 aws.yml을 추가해준다

Swagger테스트
1. 파일 선택 후 Excute 한다.

2. 이미지 URL 반환함

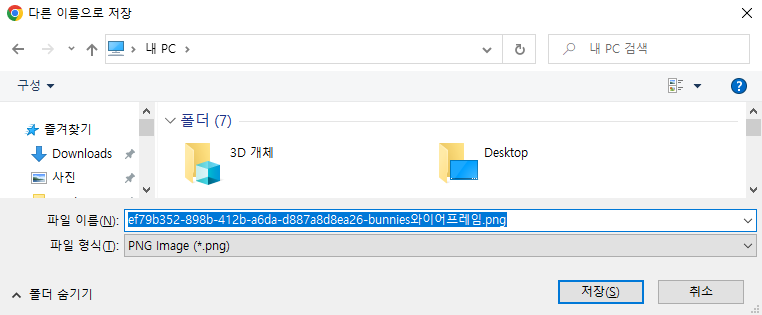
3. 반환하는 URL을 크롬 주소창에 복사해서 붙여 넣으면

4. 해당 이미지를 다운 받을 수 있는 창이 보여진다.
'📖 Study' 카테고리의 다른 글
| OAuth 이해하기 (0) | 2024.03.05 |
|---|---|
| Dummy data 생성하기 (0) | 2024.02.19 |
| Redis 와 Memcached (0) | 2024.02.19 |
블로그의 정보
꿈틀꿈틀 개발일기
jeongminy